
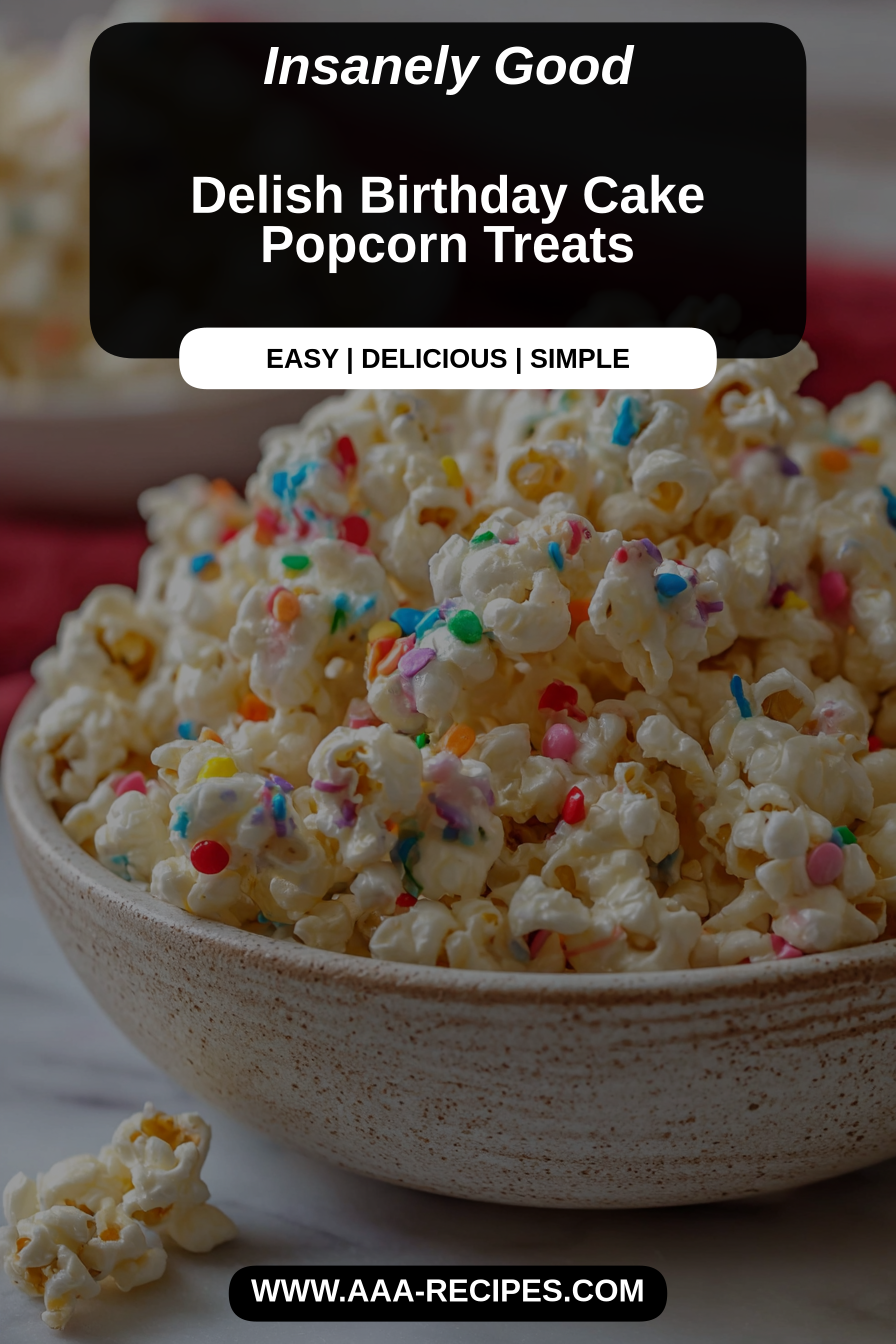
Delish Birthday Cake Popcorn Treats
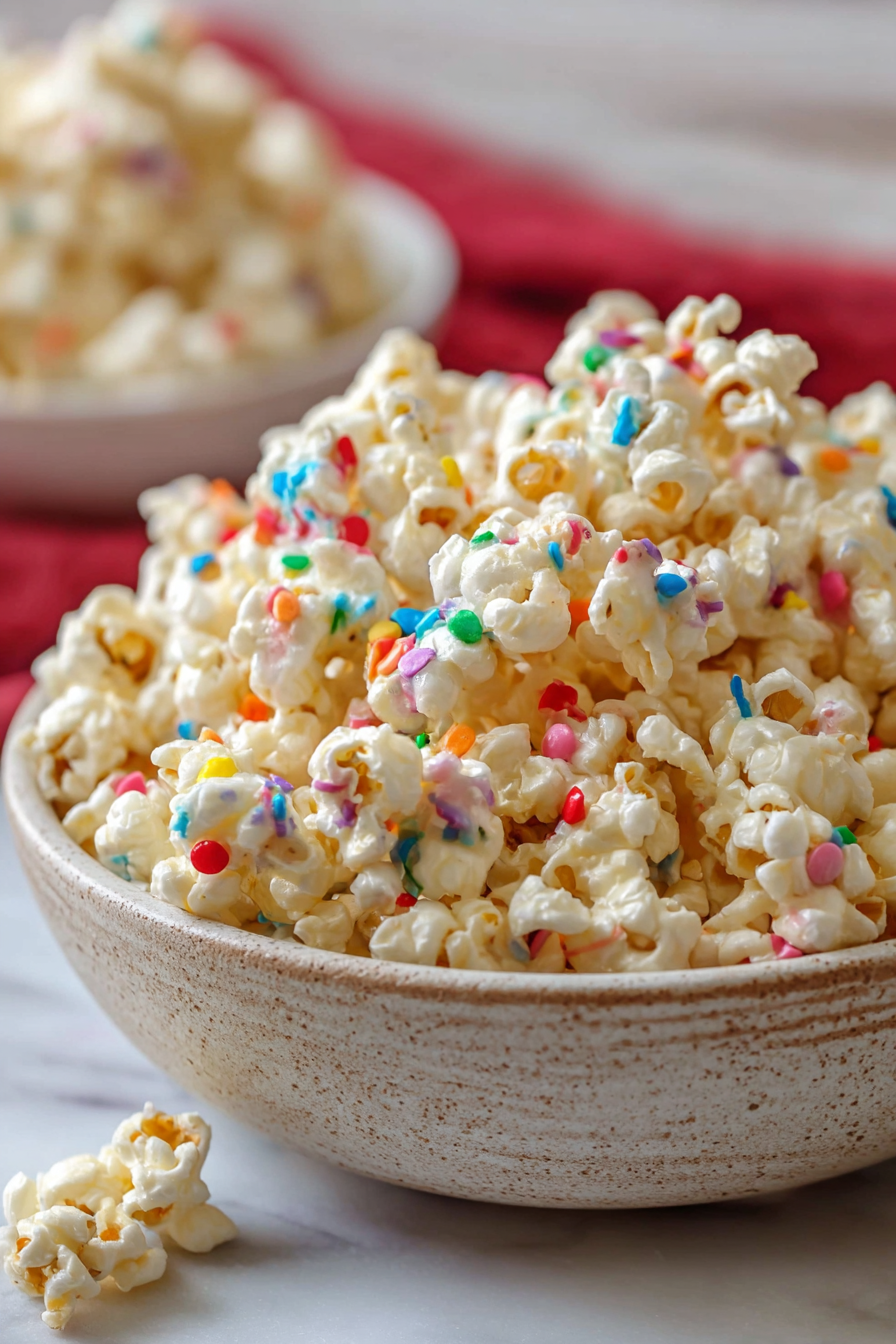
This popcorn is my go-to celebration snack: light, crunchy popped corn tossed in a sweet, cake-like coating and studded with rainbow sprinkles so it looks — and tastes — like birthday cake in a bowl. It’s one of those treats that feels indulgent but comes together fast, perfect for parties, movie nights, or when you want something fun and a little nostalgic without switching on the oven.
My husband is the official taste-tester and has dubbed this “the adult-friendly cereal we can’t stop eating.” Our toddler points at the sprinkles and insists on helping, which usually means more on the floor than in the bowl, but the chaos only makes it more beloved. It’s become our go-to hostess gift and a staple at weekend movie marathons; I keep a jar of sprinkles handy because you never know when a celebration needs to happen.
Why You’ll Love This Delish Birthday Cake Popcorn Treats
– It’s ridiculously easy: most of the work is melting and mixing, and popcorn mostly does the heavy lifting.
– Crowd-pleasing nostalgia: the cake-flavored sweetness and bright sprinkles hit that retro, celebratory note everyone recognizes.
– Customizable texture: keep it delicate and airy or add mix-ins for crunch and chew.
– No oven required: great for hot days or quick last-minute party prep.
Behind the Recipe
This version leans on a sweet, vanilla-forward coating that mimics that classic boxed birthday-cake flavor without needing to bake anything. I learned early on that temperature matters when you’re coating popcorn — too-hot melted chocolate or candy coating will make the popcorn soggy, too-cool and it won’t spread. Light, even coating is the goal: it gives every bite that hint of frosting without weighing down the crunch. The other lesson is about timing: add sprinkles while the coating is still tacky so they stick, but not so hot that the colors bleed. Little touches like a pinch of flaky sea salt or a whisper of vanilla extract lift the profile from sugary to genuinely delicious.
I made the Delish Birthday Cake Popcorn Treats for a small get-together and everyone loved the fun, cake-flavored twist — easy to toss together and perfect for a festive snack. They were a touch too sweet for my taste, but great for kids and party platters.
Shopping Tips
– Baking Basics: If you’re using boxed cake mix for extra flavor, buy plain vanilla or funfetti for the truest birthday-cake vibe; avoid mixes with extra powders or pudding additives.
– Chocolate: Use good-quality white chocolate chips or candy melts designed for melting; baking white chocolate chips can be grainy if overheated.
– Flavor Boosts: A small bottle of pure vanilla extract makes a big difference — skip imitation for the best, most authentic cake taste.
– Crunch Extras: Grab rainbow nonpareils or jimmies (not coarse sugar crystals) so the sprinkles adhere well and don’t melt into streaks.
– Nuts & Seeds: If you plan to add nuts for texture, buy them raw and unsalted so you can toast and season them yourself for balance.
Prep Ahead Ideas
– Pop the corn and let it cool completely, then store it in a large airtight container or zip-top bag for up to 24 hours before coating.
– Measure and portion sprinkles, mix-ins, and your melted coating ahead of time in small bowls so assembly is fast.
– If you want a crispier finished product, you can spread the coated popcorn on a sheet pan and let it set at room temperature for a few hours or in the fridge for 20–30 minutes.
Time-Saving Tricks
– Use pre-popped microwave popcorn (look for plain or lightly salted) when you’re short on time; just remove any excess buttered bits.
– Melt coatings slowly in short increments in the microwave, stirring between bursts to avoid burning; a double boiler works well if you prefer hands-off heat.
– Do a quick “mise en place” line-up of bowls for popcorn, coating, sprinkles, and any add-ins — assembly becomes almost assembly-line fast.
Common Mistakes
– Overheating the white chocolate: I once scorched a batch and had to start over; heat gently and stop as soon as it’s smooth.
– Adding sprinkles too late: if you wait until the coating is fully set, they won’t stick — add them while the surface is still tacky.
– Using oily or buttered popcorn: excess oil prevents the coating from adhering evenly; drain or blot buttered popcorn first.
– Over-coating: a thick, gloopy layer kills the crunch. Aim for a light veil of sweetness rather than drowning the kernels.
What to Serve It With
This popcorn shines on a snack table with fresh fruit, bowls of chocolate or caramel for dipping, or alongside salty snacks like pretzel twists to balance the sweetness. It’s also fun paired with bubbly for a grown-up celebration or milk for a nostalgic, kid-friendly combo.
Tips & Mistakes
Keep an eye on balance: a little salt (a pinch of flaky sea salt) can cut through the sweetness and make the flavors sing. If your batch gets too sticky after storage, spread it on a sheet pan and let it air out for a bit to regain some crispness.
Storage Tips
Store in airtight containers in the fridge. It reheats beautifully, but if you sneak a bite cold straight from the container, it still works.
Variations and Substitutions
Swap white chocolate for vanilla candy melts if you want a smoother melt that’s forgiving. Add mini M&M’s or crushed cookies for texture, but avoid too many oily mix-ins that can make the popcorn limp. For a less sweet version, replace part of the coating with melted plain chocolate and finish with a light dusting of sprinkles.
Frequently Asked Questions
Delish Birthday Cake Popcorn Treats
Ingredients
Main Ingredients
- 10 cups popped popcorn
- 0.5 cups butter melted
- 1 cup white chocolate chips
- 0.5 cups rainbow sprinkles
Instructions
Preparation Steps
- Preheat your oven to 250°F (120°C).
- In a large bowl, combine the popped popcorn and melted butter.
- Melt the white chocolate chips in a microwave or double boiler.
- Drizzle the melted white chocolate over the popcorn and mix well.
- Spread the popcorn mixture onto a baking sheet lined with parchment paper.
- Sprinkle the rainbow sprinkles over the popcorn and bake for 10 minutes.
- Remove from the oven and let cool before serving.
Notes
Featured Comments
“This creamy recipe was absolutely loved — the sweet treat really stands out. Thanks!”
“New favorite here — will make again. sweet treat was spot on.”
“Made this last night and it was absolutely loved. Loved how the crowd-pleaser came together.”
“Super easy and so flavorful! My family asked for seconds. Saving this one.”
“Super easy and so flavorful! My family asked for seconds. Saving this one.”
“New favorite here — will make again. rich was spot on.”
“New favorite here — family favorite. crowd-pleaser was spot on.”
“New favorite here — so flavorful. creamy was spot on.”
“Super easy and family favorite! My family asked for seconds. Saving this one.”
“New favorite here — will make again. creamy was spot on.”