
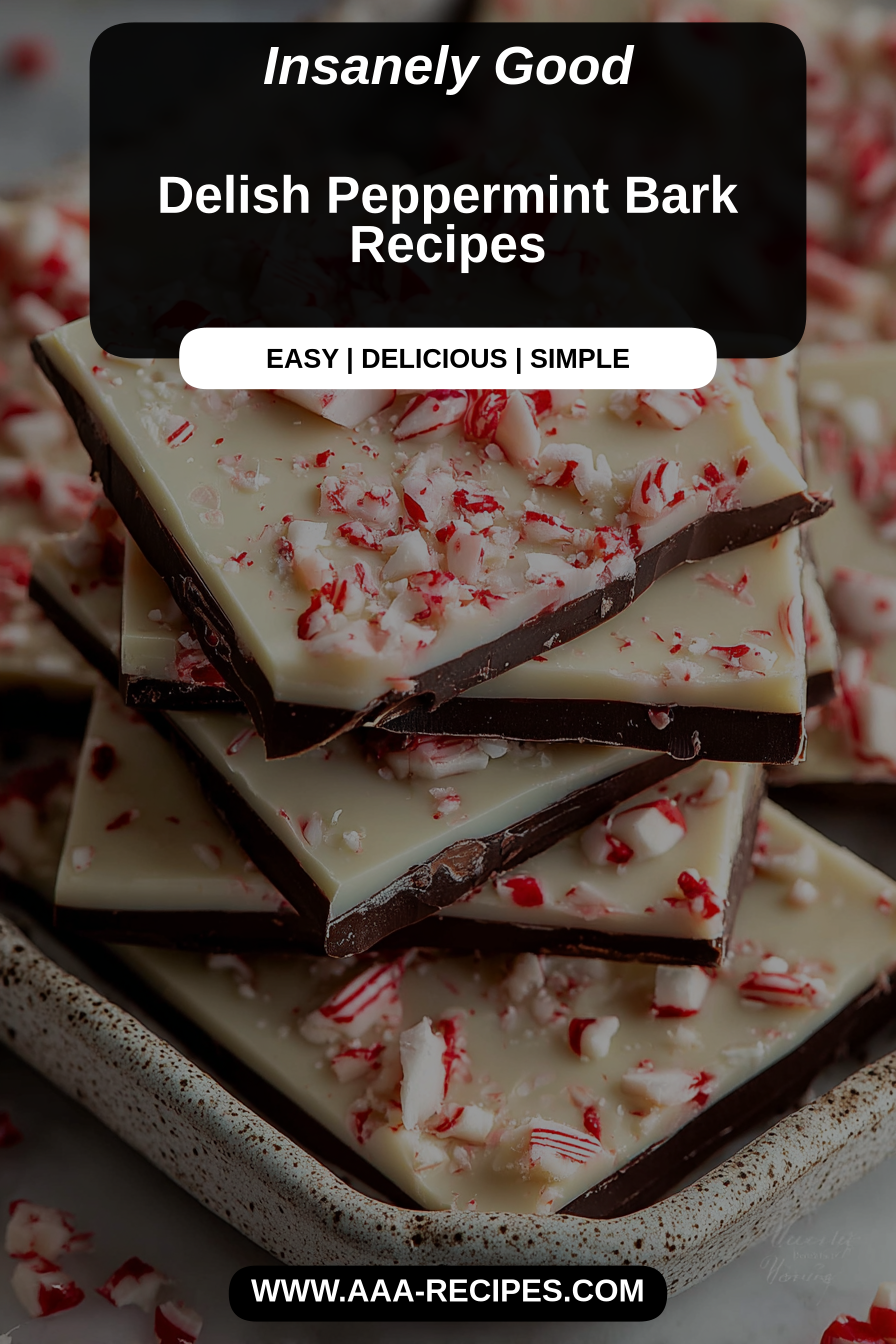
Delish Peppermint Bark Recipes
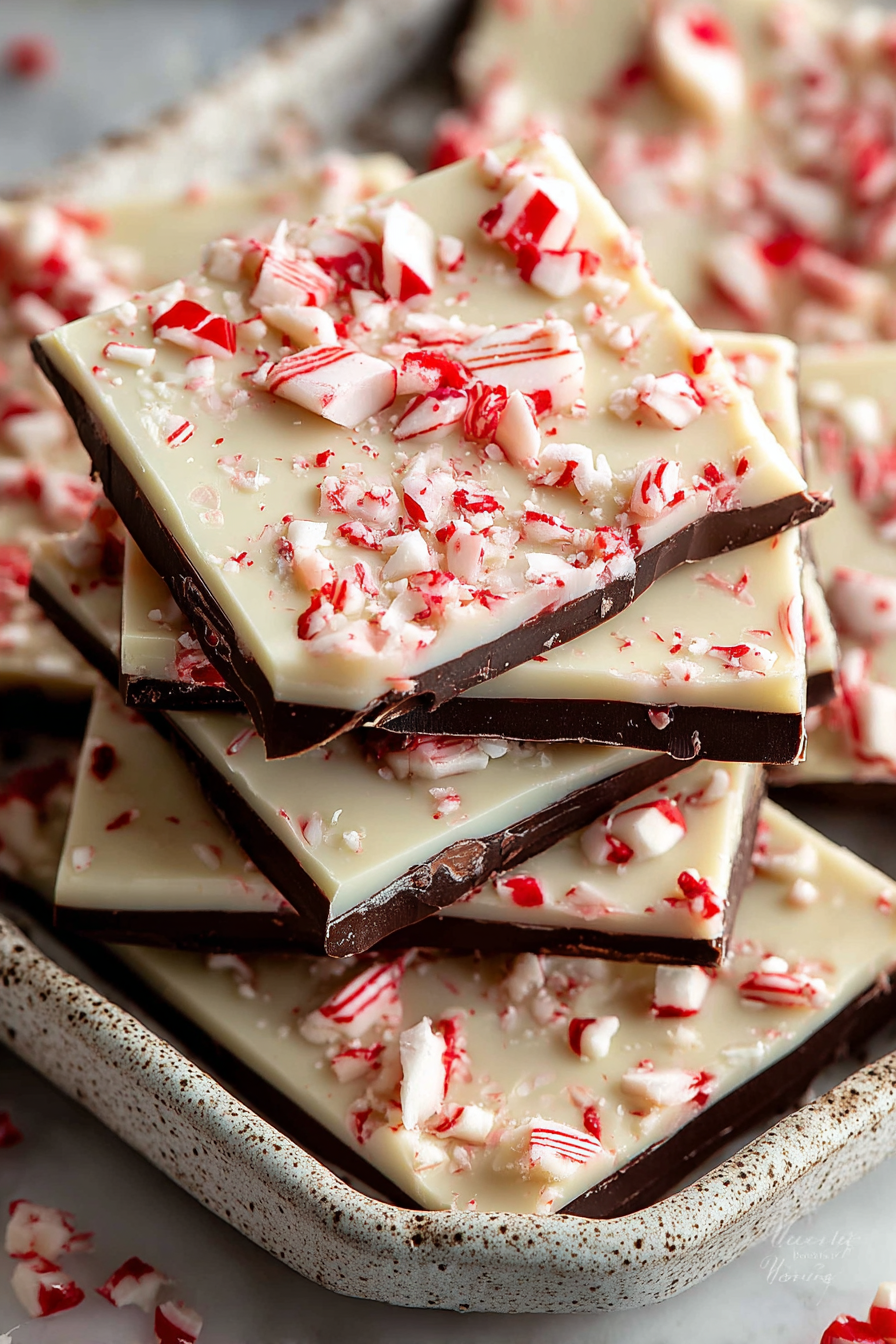
There’s something wildly satisfying about the simplicity of peppermint bark: a crisp, glossy sea of chocolate punctuated by crunchy peppermint on top. It’s festive without fuss, and every time I make a batch it disappears faster than I expect — which is saying something in this house.
My husband is the official taste-tester and will insist on sampling a corner as soon as the sheet comes out of the fridge. Our daughter calls it “Christmas rocks” and adds them to gift bags for neighbors; it’s become our go-to homemade holiday present. We started making peppermint bark together one December when a blizzard kept us homebound—crushing candy canes on the kitchen counter felt like the perfect, tiny ritual that made a gray day feel bright. Now it’s one of those small, repeatable things that marks the season for our family.
Why You’ll Love This Delish Peppermint Bark Recipes
– The contrast of smooth dark chocolate and creamy white chocolate topped with crunchy peppermint is instantly addictive, and it looks fancy with almost zero effort.
– It’s incredibly flexible: make it as simple or as decorated as you like, and it’s endlessly giftable — packaged up, it feels extra-special.
– The recipe is forgiving; a little bloom on chocolate or uneven candy doesn’t ruin the flavor, and most mistakes have easy fixes.
Behind the Recipe
This is the kind of recipe that teaches you to read your chocolate more than your oven — temperature matters for texture, not just taste. I learned the hard way that white chocolate is more delicate and can seize if overheated; treating it gently makes the difference between glossy, sliceable sheets and a grainy mess. Spreading the layers while the base chocolate is still just warm (not hot) helps the top layer set smoothly and prevents the two from mixing. Also: crushing peppermint by hand gives you charming irregular pieces that are prettier and more textural than pulverized powder.
I made this peppermint bark for a holiday cookie exchange and it was a hit—the layers are simple to assemble and the peppermint flavor is refreshingly strong. It’s a bit sweeter than I prefer, but overall super festive and easy enough to make with kids.
Shopping Tips
– Chocolate: Use a good-quality bittersweet or semisweet for the base and a real white chocolate (not confectionery coating) for the top if possible — the flavor and mouthfeel are worth it.
– Baking Basics: Make sure you have parchment paper and a rimmed baking sheet; a flat, even surface keeps the bark a consistent thickness.
– Fats & Oils: If your white chocolate seems thick, a teaspoon of neutral oil (like fractionated coconut or light vegetable oil) can smooth it slightly — add sparingly.
– Nuts & Seeds: If you like texture, buy roasted, unsalted nuts and chop them coarsely; they make a lovely counterpoint to the peppermint.
– Flavor Boosts: Pick up a small bottle of pure peppermint extract if you want an extra peppermint punch — a little goes a long way.
Prep Ahead Ideas
– Crush candy canes or peppermint disks and store them in an airtight jar a day or two ahead so they’re ready to sprinkle.
– Melt and temper chocolate ahead of time if you’re comfortable with it, and keep it warm over a gentle bain-marie until you’re ready to pour.
– Line baking sheets with parchment in advance and measure out any oils or extracts into small prep bowls to smooth the process when you’re assembling.
Time-Saving Tricks
– Use the microwave in short bursts (20–30 seconds) stirring in between to melt chocolate quickly, watching carefully to avoid overheating white chocolate.
– Buy pre-crushed peppermint or use a rolling pin and a zip-top bag to crush canes fast without cleaning sticky shards everywhere.
– Keep everything organized on the counter (mise en place): chocolate, toppings, parchment, and a bench scraper for clean edges — it shaves minutes off assembly.
Common Mistakes
– Overheating white chocolate: I once nuked white chocolate until it puffed and then seized; the fix is gentle heat, lots of stirring, or melting over a double boiler and adding a tiny bit of neutral oil if needed.
– Pouring the top layer onto hot base chocolate: it will blur the layers — cool the base until it’s just set but still tacky, then pour the white chocolate for crisp lines.
– Not chilling long enough before breaking: if you try to snap it too soon, it crumbles unevenly; give it at least an hour in the fridge so it breaks cleanly.
What to Serve It With
– Hot chocolate or coffee for an indulgent winter pairing; a little piece melted into a mug is heavenly.
– As part of a holiday cookie plate alongside shortbread and biscotti, where the peppermint adds a bright contrast.
– Crumbled over vanilla ice cream or stirred into plain Greek yogurt for an instant festive treat.
Tips & Mistakes
A steady hand and patience are the best helpers here. Use a bench scraper or offset spatula to smooth layers, and don’t worry if the peppermint isn’t perfectly uniform — the rustic look is part of its charm. If your chocolate blooms (white streaks), it’s still safe to eat; the flavor won’t be affected much, though the look changes.
Storage Tips
Store in airtight containers in the fridge. It reheats beautifully, but if you sneak a bite cold straight from the container, it still works.
For gifting, wrap pieces individually in wax paper then place them in a tin or box to avoid condensation; keep refrigerated if your home is warm.
Variations and Substitutions
– Swap dark chocolate for milk chocolate if you prefer a sweeter base, or try 70% dark for a more grown-up contrast with the white layer.
– Make it nut-free by skipping nuts entirely or using seeds like toasted pumpkin seeds for crunch.
– For a vegan version, choose dairy-free dark and white “chocolates” formulated for melting; texture will vary slightly but the concept is the same.
– Add flavors like a pinch of flaky sea salt, a few drops of almond extract, or a dusting of crushed candy cane and cocoa nibs for complexity. Note: peppermint extract is potent — start small.
Frequently Asked Questions
Delish Peppermint Bark Recipes
Ingredients
Main Ingredients
- 8 oz semisweet chocolate Chopped
- 8 oz white chocolate Chopped
- 0.25 cup candy canes Crushed
Instructions
Preparation Steps
- Melt semisweet chocolate in a microwave-safe bowl, stirring every 30 seconds until smooth.
- Pour melted chocolate onto a lined baking sheet and spread evenly.
- Melt white chocolate in the same way, then drizzle over the semisweet layer.
- Sprinkle crushed candy canes on top before the chocolate sets.
- Allow to cool completely, then break into pieces.
Notes
Featured Comments
“New favorite here — turned out amazing. rich was spot on.”
“Super easy and family favorite! My family asked for seconds. Saving this one.”
“Super easy and absolutely loved! My family asked for seconds. Saving this one.”
“Impressed! Clear steps and absolutely loved results. Perfect for busy nights.”
“New favorite here — so flavorful. crowd-pleaser was spot on.”
“Impressed! Clear steps and family favorite results. Perfect for busy nights.”
“Impressed! Clear steps and family favorite results. Perfect for busy nights.”
“Impressed! Clear steps and absolutely loved results. Perfect for busy nights.”
“This crowd-pleaser recipe was so flavorful — the sweet treat really stands out. Thanks!”
“Impressed! Clear steps and turned out amazing results. Perfect for busy nights.”