
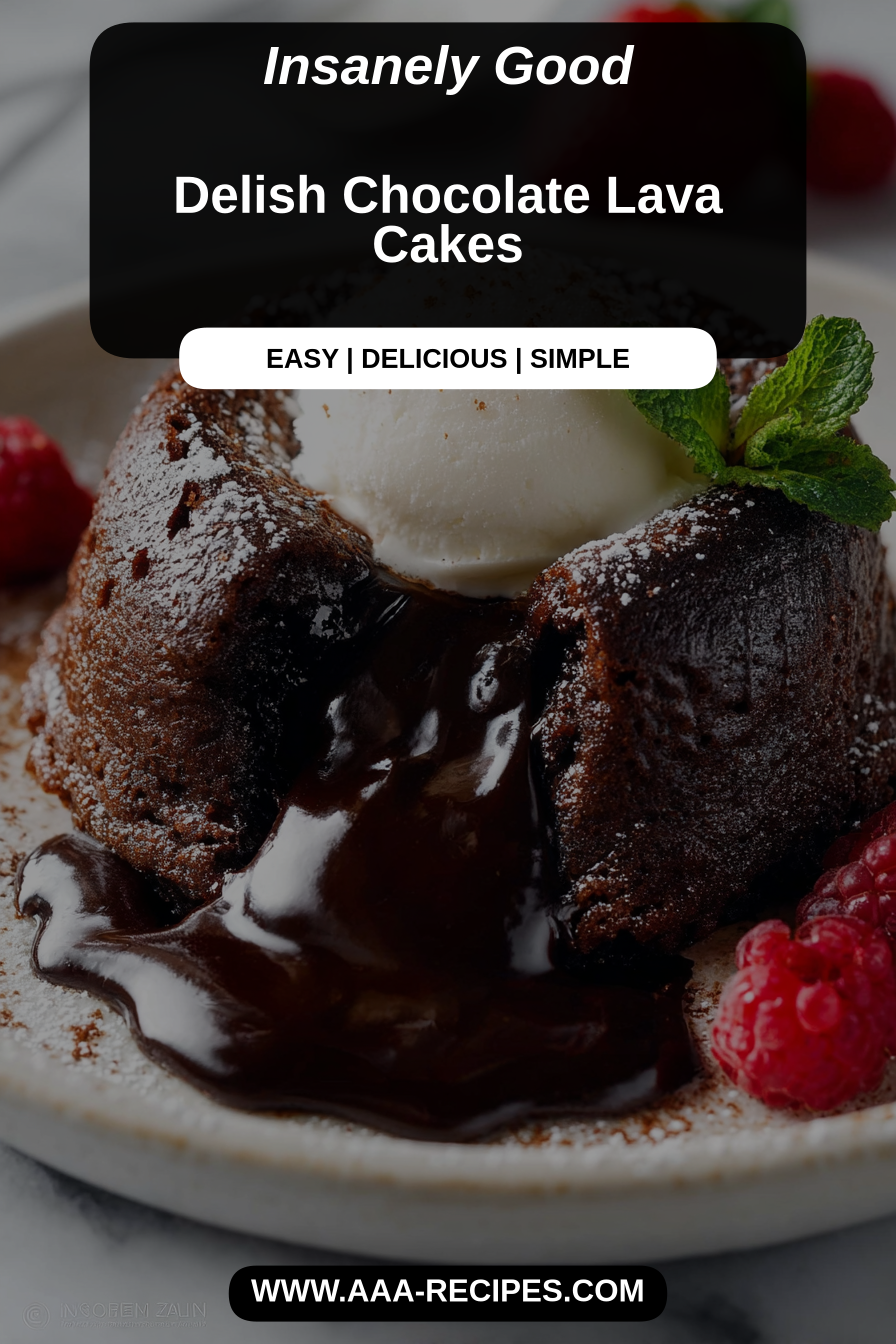
Delish Chocolate Lava Cakes
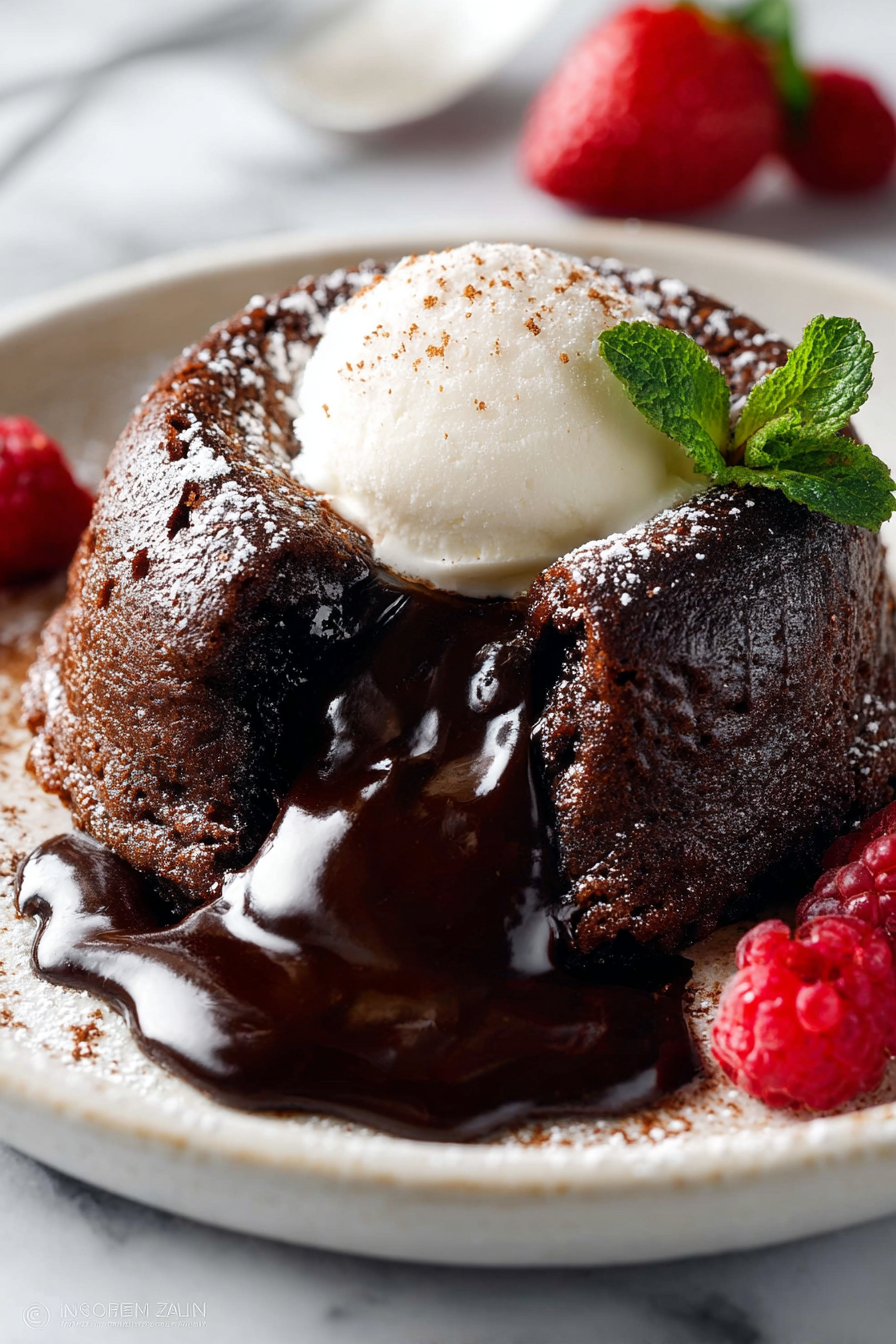
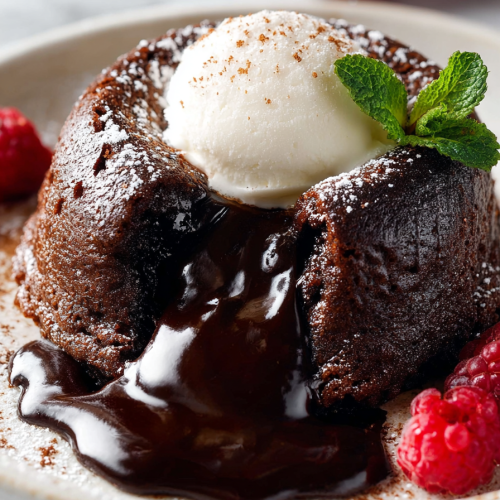
I make these Delish Chocolate Lava Cakes when I want dessert to feel like a small theatrical moment—warm, glossy chocolate that spills out the second you break the spoon. They’re rich without being fussy, perfect for a weeknight treat or for turning an ordinary Sunday into something a little celebratory.
My husband is the resident lava-cake critic in our house: he’ll insist on a tiny scoop of vanilla ice cream on top and then quietly declare it the best thing I’ve made that week. Our kiddo once tried to blow on the cake to cool it, which only made the center gush faster; now it’s a running joke that we have to “protect the lava.” These feel fancy but are actually the kind of recipe we keep in rotation because they’re dependable, fast, and reliably loved.
Why You’ll Love This Delish Chocolate Lava Cakes
– Deep, intense chocolate flavor that feels indulgent without being cloying.
– Quick to assemble and bakes in under 15 minutes, so you get a great dessert with minimal fuss.
– The molten center delivers dramatic presentation with very little effort—perfect for guests.
– Flexible: you can dress them up with fruit, ice cream, or a splash of liqueur in the batter.
– Makes a small batch easily, so you don’t end up with leftover cake you’ll feel obliged to finish.
Behind the Recipe
I learned early on that temperature and timing are everything with lava cakes. The exterior should be set and just springy, while the center remains glossy and soft—go an extra minute and you lose the volcano. I also realized that letting the batter rest for a few minutes after mixing helps bubbles relax and gives a smoother dome when it bakes. Little touches like greasing and flouring the ramekins well, or dusting with a light layer of cocoa instead of flour, make unmolding simple and keep the edges clean. Finally, don’t skip the resting time for the cakes for a minute or two after baking; it helps the tops settle so they look neat when you flip them.
These Delish Chocolate Lava Cakes were an indulgent weeknight treat—rich, gooey centers and a tender cake exterior that felt restaurant-worthy. The steps were straightforward, though I’d reduce the sugar slightly next time to cut the sweetness.
Shopping Tips
– Chocolate: Use good-quality bittersweet or semisweet chocolate (60–70% cacao) for a true chocolate hit—chips work in a pinch, but bars melt more evenly.
– Eggs: For the best texture, choose large eggs and bring them to room temperature so they incorporate smoothly into the batter.
– Baking Basics: Keep unsweetened cocoa powder and a touch of flour on hand; cocoa deepens the chocolate flavor while a bit of flour helps structure the edges.
– Dairy: Use whole milk or cream for richness—lower-fat milk can make the cakes slightly less silky.
– Fats & Oils: Unsalted butter gives the batter a glossy finish; if you only have salted, reduce any additional salt you might add.
Prep Ahead Ideas
– Mix the batter up to a day ahead and keep it covered in the refrigerator; bring it to room temperature before baking for best rise and texture.
– Grease and dust your ramekins the day before and store them covered so they’re ready to fill.
– Measure dry ingredients and chop or grate chocolate ahead of time into a labeled container so assembly is fast when you’re ready.
Time-Saving Tricks
– Use a double boiler or a microwave in short bursts to melt butter and chocolate quickly and evenly.
– Line up your mise en place: weigh the chocolate, measure the sugar and flour, and crack eggs into a small bowl before combining to avoid scrambling under time pressure.
– If you’re short on time, bake multiple ramekins at once and keep extras warm in a low oven (about 200°F/95°C) for a few minutes—just don’t overdo it or the centers will set.
Common Mistakes
– Overbaking until the center is fully set: I did this once thinking “just one more minute” and lost the lava—rescue is tough, so pull them early and test one.
– Skimping on greasing the ramekins: cakes can stick and break; butter plus a light dusting of cocoa is a small step that pays off.
– Using cold eggs or ingredients: cold batter can bake unevenly and reduce rise; let eggs come to room temp for a better texture.
– Not letting the batter rest: skipping the brief rest can trap air and cause uneven domes or minor cracking.
What to Serve It With
– A small scoop of cold vanilla or salted caramel ice cream to contrast the warmth and bittersweet chocolate.
– Fresh berries or a quick berry compote to cut the richness with acidity.
– A dusting of powdered sugar or a drizzle of heavy cream infused with a splash of coffee liqueur for an adult touch.
Tips & Mistakes
– Timing is the trickiest part—set a timer and check a test ramekin a minute early to find your oven’s sweet spot.
– If the exterior is too firm before the center melts, your oven is likely running hot; lower the temp slightly next time.
– To avoid a sunken top, don’t open the oven door while baking.
Storage Tips
Store in airtight containers in the fridge. It reheats beautifully, but if you sneak a bite cold straight from the container, it still works.
Variations and Substitutions
– Chocolate swap: dark chocolate gives a more intense, slightly bitter center; milk chocolate yields a sweeter, softer core—both work, just adjust sugar slightly.
– Dairy-free option: replace butter with a quality vegan butter and use coconut milk or a plant-based cream; texture will be close but slightly different.
– Add-ins: fold a teaspoon of espresso powder into the batter for depth, or press a few raspberries or a square of flavored chocolate into the center before baking.
– If you’re avoiding refined sugar, try a reduced amount of maple syrup or coconut sugar, though texture and caramel notes will change subtly.
Frequently Asked Questions
Delish Chocolate Lava Cakes
Ingredients
Main Ingredients
- 0.5 cup unsalted butter
- 1 cup semisweet chocolate chips
- 0.5 cup granulated sugar
- 0.25 cup all-purpose flour
- 2 large eggs
- 2 tablespoons vanilla extract
Instructions
Preparation Steps
- Preheat the oven to 425°F (220°C). Grease four ramekins with butter and dust with flour.
- Melt the butter and chocolate chips in a microwave-safe bowl. Stir until smooth.
- In another bowl, whisk together the eggs and sugar until thick and pale.
- Combine the chocolate mixture with the egg mixture, then fold in the flour.
- Divide the batter among the prepared ramekins and bake for 12 minutes.
- Let cool for 1 minute, then invert onto plates. Serve immediately.
Notes
Featured Comments
“New favorite here — absolutely loved. rich was spot on.”
“Made this last night and it was absolutely loved. Loved how the sweet treat came together.”
“Super easy and so flavorful! My family asked for seconds. Saving this one.”
“New favorite here — so flavorful. creamy was spot on.”
“This sweet treat recipe was absolutely loved — the creamy really stands out. Thanks!”
“Super easy and turned out amazing! My family asked for seconds. Saving this one.”
“Made this last night and it was will make again. Loved how the crowd-pleaser came together.”
“Made this last night and it was so flavorful. Loved how the sweet treat came together.”
“New favorite here — family favorite. crowd-pleaser was spot on.”
“Impressed! Clear steps and will make again results. Perfect for busy nights.”