
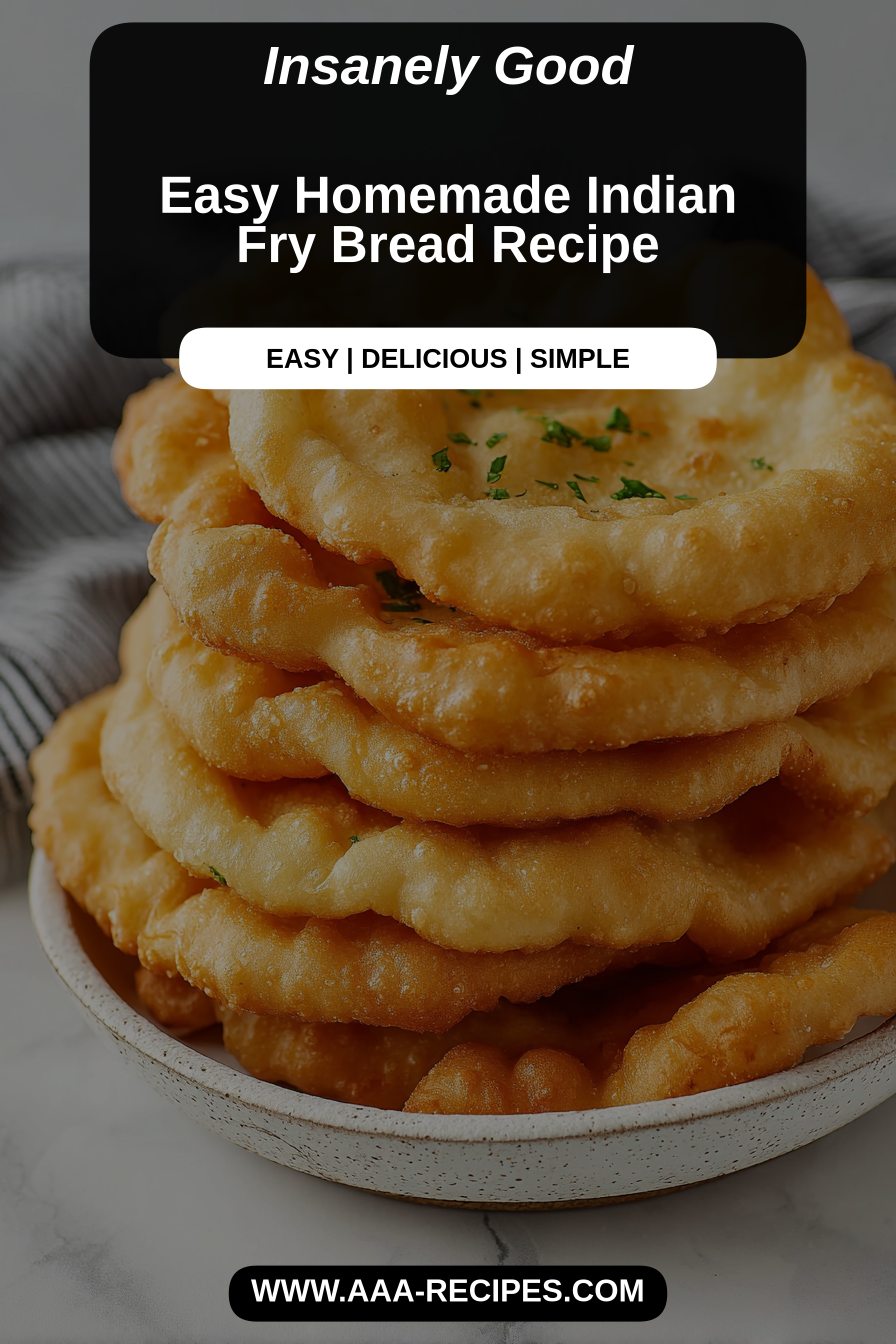
Easy Homemade Indian Fry Bread Recipe
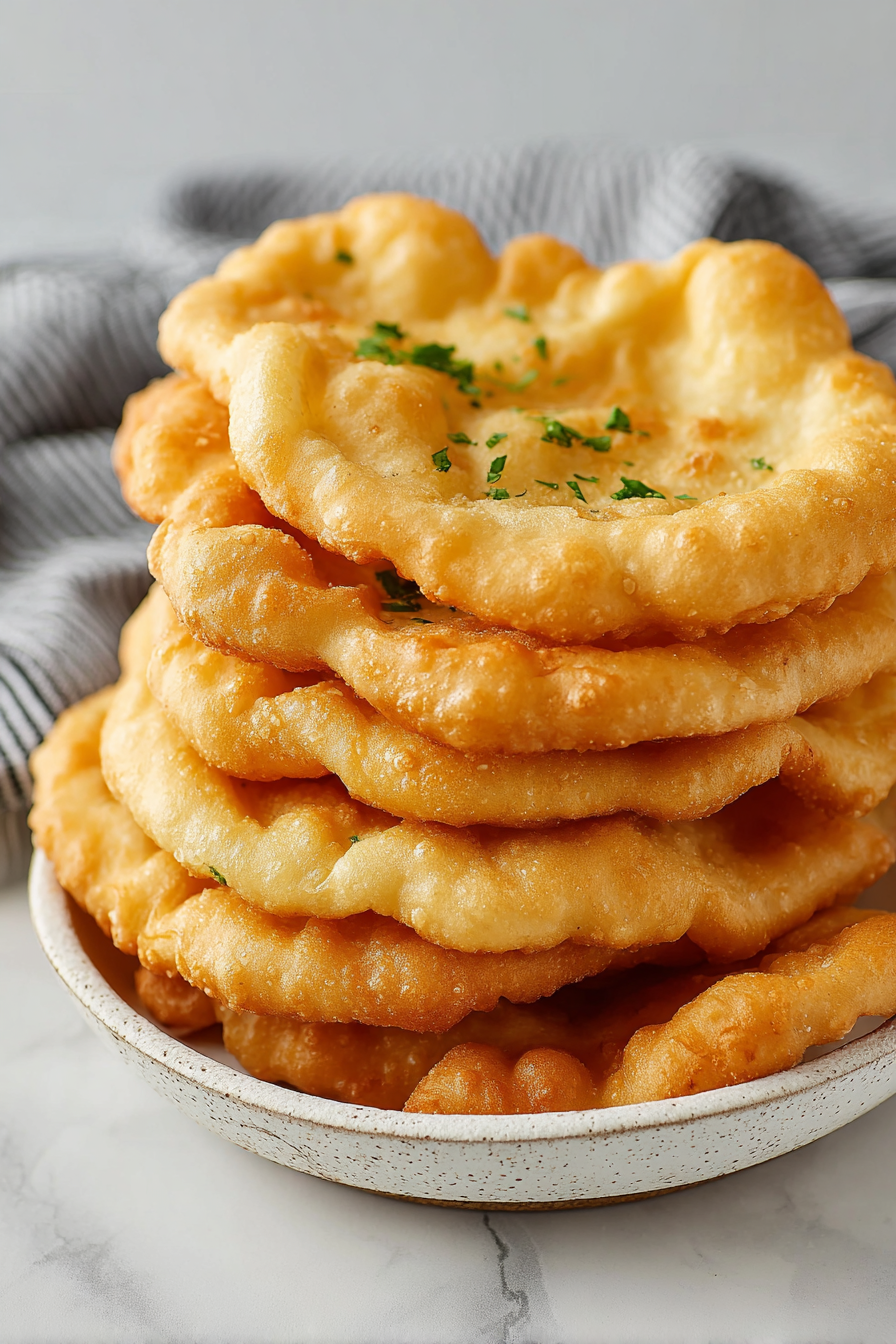
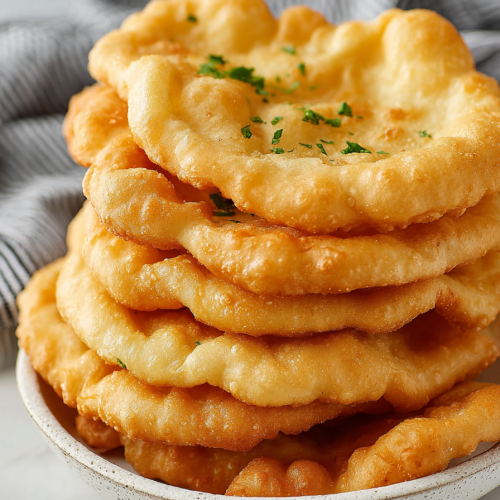
This fry bread is the kind of simple, soulful cooking that feels like a treat no matter the day of the week: pillowy fried dough that’s crisp at the edges and tender inside, ready for sweet toppings like honey and powdered sugar or dressed up as savory tacos. It’s not fussy, but it does reward a little patience—mixing, a short rest, and frying to golden perfection. If you’ve never made Indian fry bread at home, you’ll be surprised how approachable and comforting it is.
My husband is the kid at the county fair whenever I make this—he’ll take two, slather one with honey and the other with refried beans and cheese, and declare it the best weeknight dinner. Our kids call it “magic bread” because the dough goes in as a lump and comes out all puffed and warm. It’s become our easy weekend ritual: I roll and stretch, they stand by the fryer with plates ready, and the whole house smells like golden nostalgia.
Why You’ll Love This Easy Homemade Indian Fry Bread Recipe
– It’s both a treat and a blank canvas: serve it sweet or savory and everyone finds their favorite.
– The method is forgiving—no precise kneading or proofing required—so it’s a great entry point into breads.
– Quick to pull together with pantry staples, yet feels celebratory enough for guests.
– Crisp outside, soft inside texture that hits the comfort-food sweet spot every time.
Behind the Recipe
Every time I make fry bread I learn a little more about how simple techniques change the final texture. Letting the dough rest—briefly—helps the gluten relax so the pieces puff instead of springing back when you shape them. Hot oil is non-negotiable for a light, blistered surface; too cool and the bread soaks oil, too hot and the outside browns before the center cooks. Small, uniform pieces make frying predictable, and a gentle stretch rather than heavy rolling keeps the interior tender. Little touches that make it shine: a fine dusting of powdered sugar for sweet versions, or a squeeze of lime and chopped cilantro if you’re going savory.
This Easy Homemade Indian Fry Bread recipe is wonderfully simple and yields soft, pillowy bread with a nice golden crust. I loved how quick it was to prepare, and it was perfect topped with butter and honey. The dough was easy to work with, though I found chilling it a bit longer helped with shaping. Definitely a fun recipe to keep on hand for a cozy treat!
Shopping Tips
– Baking Basics (Flour/Sugar/Leaveners): All-purpose flour and a dependable baking powder are all you need; pick a fresh can of baking powder for the best rise.
– Fats & Oils: Choose a neutral high-smoke-point oil (vegetable, canola, or peanut) for frying—it keeps the flavor clean and the bread crisp.
– Dairy: If the recipe calls for milk or buttermilk, use what you have—buttermilk gives a slightly tangy, tender crumb if you want richer flavor.
– Spices: Just keep kosher salt on hand; a small pinch in the dough and on savory toppings elevates everything.
– Specialty Item: Powdered sugar or honey is worth keeping in the pantry for sweet finishes, and good-quality refried beans or taco toppings make great savory companions.
Prep Ahead Ideas
– Mix the dough and refrigerate it for later in the day or up to a day ahead; bring it to room temperature and give it a gentle re-knead before shaping.
– Measure and portion dough into balls in advance so you can fry straight from the fridge—store them in an airtight container separated with parchment.
– Prep toppings and accompaniments (shredded cheese, beans, chopped herbs, honey) in small containers so assembling is fast when the bread comes out hot.
Time-Saving Tricks
– Use a shallow, heavy skillet so the oil heats quickly and holds temperature; a thermometer helps but you can also test with a small piece of dough.
– Keep mise en place for toppings within arm’s reach so each piece is dressed right away—fry bread is best served hot.
– Use a kitchen scale or pre-measured dough balls for consistent cook times and fewer surprises at the fryer.
Common Mistakes
– Overworking the dough: I once rolled everything too thin and tight—the bread stayed dense. The fix is to handle gently and let the dough rest so it relaxes.
– Oil temperature: frying in oil that’s too cool makes greasy bread; if the bread is soaking oil, bring the heat up a bit and fry smaller pieces to keep the temp steady.
– Crowding the pan: too many pieces in at once drops the oil temperature. Fry in batches and keep finished pieces warm in a low oven if needed.
What to Serve It With
– For sweet: powdered sugar, honey, jam, or a dollop of whipped cream and berries.
– For savory: layered as “Indian tacos” with refried beans, taco meat, shredded lettuce, cheese, and salsa.
– For sides: simple salads, pickled onions, or roasted vegetables make a nice balance to the richness of the bread.
Tips & Mistakes
Storage Tips
Store in airtight containers in the fridge. It reheats beautifully, but if you sneak a bite cold straight from the container, it still works.
Variations and Substitutions
– Gluten-free: a blend designed for yeast-free breads can work, but texture will be different—expect a bit more crumbly and less chew. Add a binder like xanthan gum if your blend doesn’t include it.
– Dairy swaps: milk can stand in for buttermilk; for a tangy finish without dairy, use a splash of yogurt thinned with water.
– Frying oil: neutral oils are safest; ducking into lard gives an old-fashioned flavor if you want richer results.
– Serving swaps: keep the classic version for fairs and celebrations, but try savory taco toppings when you want a full meal—some things (like classic powdered-sugar fry bread) are worth preserving as-is.
Frequently Asked Questions
Easy Homemade Indian Fry Bread Recipe
Ingredients
Main Ingredients
- 2 cups all-purpose flour Use unbleached flour for better texture
- 0.5 teaspoon salt
- 0.25 cups water Add more if needed for dough consistency
- 1 cup oil For frying
Instructions
Preparation Steps
- In a mixing bowl, combine the flour and salt. Gradually add water to form a dough.
- Knead the dough on a floured surface until smooth and elastic, about 5 minutes.
- Divide the dough into equal balls and roll each into a thin circle.
- Heat oil in a skillet over medium-high heat. Fry each circle until golden brown on both sides.
Notes
Featured Comments
“This quick bite recipe was turned out amazing — the salty-sweet really stands out. Thanks!”
“New favorite here — turned out amazing. grab-and-go was spot on.”
“New favorite here — so flavorful. grab-and-go was spot on.”
“New favorite here — will make again. quick bite was spot on.”
“Super easy and turned out amazing! My family asked for seconds. Saving this one.”
“New favorite here — turned out amazing. quick bite was spot on.”
“New favorite here — so flavorful. crunchy was spot on.”
“This grab-and-go recipe was absolutely loved — the quick bite really stands out. Thanks!”
“This grab-and-go recipe was absolutely loved — the salty-sweet really stands out. Thanks!”
“Impressed! Clear steps and so flavorful results. Perfect for busy nights.”