
Easy Soft Granola Bar Recipes
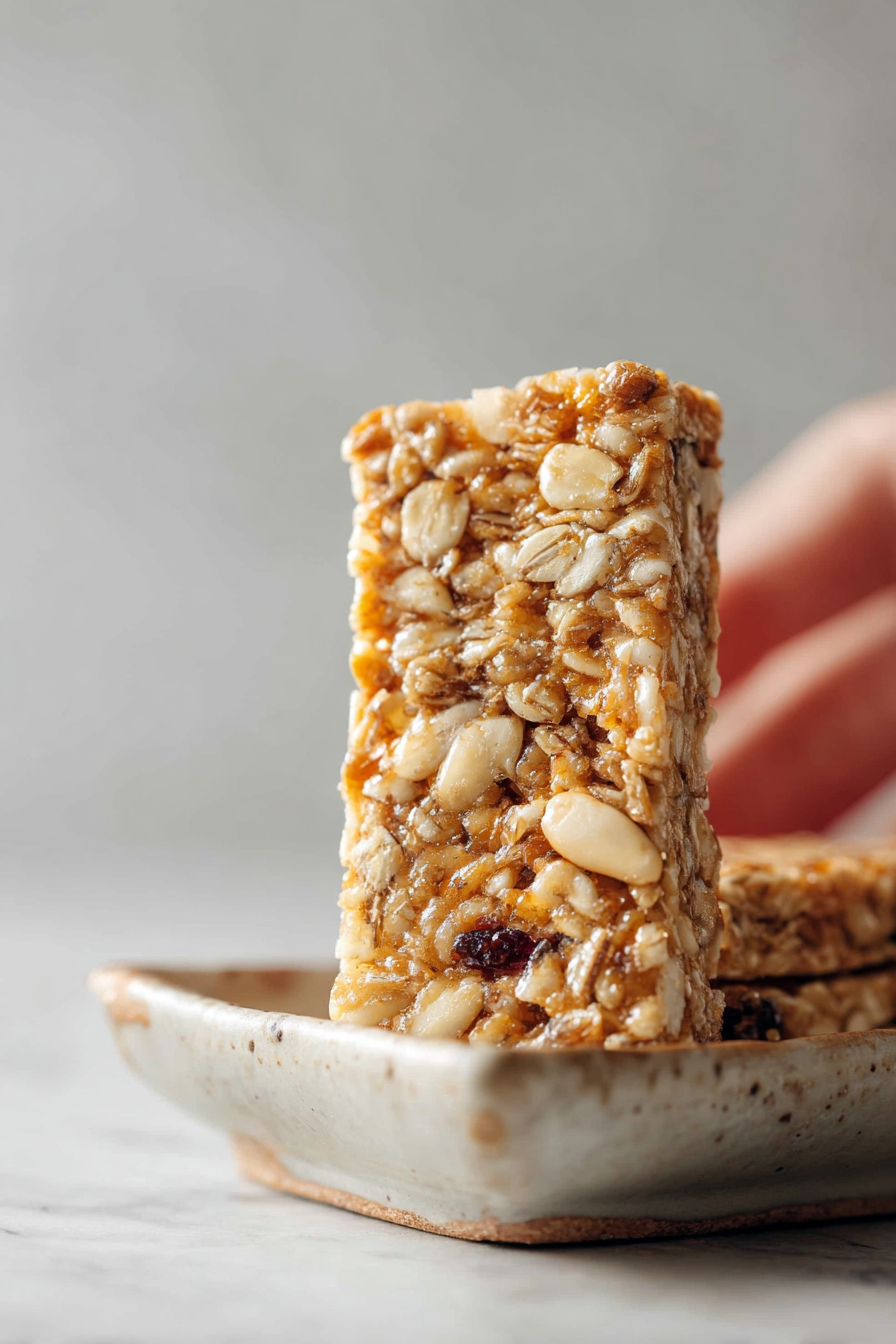
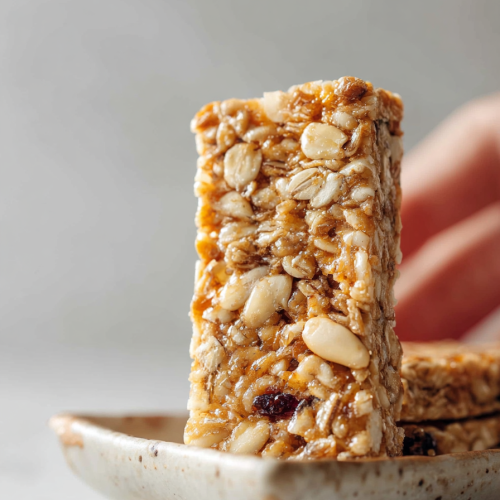
I love these soft, chewier granola bars because they hit that perfect middle ground between a homemade snack and something you’d actually reach for every day—portable, not-too-sweet, and forgiving if your pantry is a little chaotic. They’re the kind I make when I want a healthier store-bought alternative but still crave that cozy, toasty oat flavor with little pockets of chocolate or dried fruit.
My husband is the real proof of how family-friendly these are: he’ll disappear into the garage with a bar in hand and reappear claiming it “powered his whole afternoon of yard work.” Our kiddo calls them “magic squares” and insists on carrying one in her lunchbox every day. Making a pan of these has become a weekend ritual—one batch disappears within two days, and I’ve learned to double the recipe if I want any leftovers.
Why You’ll Love This Easy Soft Granola Bar Recipes
– They stay soft without crumbling apart, thanks to a simple balance of syrup and nut butter that keeps everything chewy.
– Customizable: swap nuts, seeds, dried fruit, or chocolate chips depending on what’s in your pantry or dietary needs.
– No complicated equipment—just a bowl, a pan, and a spatula—so they’re great for weeknight baking or a kid-friendly weekend project.
– Better-for-you than most store options: you control the sweetener and the mix-ins, so you can cut sugar or add more protein as needed.
Behind the Recipe
This recipe came out of repeated attempts to replicate that soft, bake-then-chill texture you see in high-end granola bars without leaning on a lot of processed ingredients. The trick is gentle heat to bloom the sweetener (honey or maple) so it binds, plus pressing the mixture firmly into the pan before chilling to set. People often try to skip the chilling step and then wonder why the bars fall apart—trust me, a little patience with cooling makes a huge difference. Toasting the oats and nuts briefly adds depth, but don’t overdo it—burnt oats are unforgiving. Finally, keep your mix-ins chopped fairly uniform so every bite is consistent.
Shopping Tips
– Grains/Pasta: Use old-fashioned rolled oats for the best chewy texture; instant oats make bars too crumbly. Look for whole-grain labels for extra fiber.
– Nuts & Seeds: Pick a mix you enjoy—almonds, walnuts, pepitas—and buy unsalted so you can control the salt level. Toast them at home for more flavor.
– Sweeteners: Liquid sweeteners like honey or maple syrup are best for binding; check the label for pure maple or local raw honey if you want richer flavor.
– Fats & Oils: Use a neutral oil or natural nut butter (peanut or almond) as your binder; if you prefer dairy, melted butter gives a classic flavor but slightly firmer bars.
– Chocolate: Choose chips or a chopped bar—mini chips disperse more evenly and keep the bars from becoming too melty in storage.
Prep Ahead Ideas
– Measure and mix the dry ingredients (oats, seeds, chopped nuts, salt, spices) the day before and store in an airtight container so you can assemble quickly.
– Toast nuts and seeds ahead of time, cool completely, and keep them in the pantry for up to a week to save hands-on time.
– Make the wet binder (syrup + nut butter + oil) in advance and reheat briefly to loosen before combining; store in a jar in the fridge for up to a week.
– Pre-cut bars after chilling and layer with parchment in a sealed container for grab-and-go lunches.
Time-Saving Tricks
– Use a food processor to pulse nuts quickly instead of chopping by hand, but don’t over-process into nut butter unless you want a denser bar.
– Line your pan with parchment and use the parchment’s overhang to press and lift the whole slab—much faster than scooping.
– Keep your mise en place simple: measure all dry ingredients into one bowl and warm wet ingredients in another before combining to speed assembly.
– If you’re short on time, skip to no-bake: mix warmed binder with oats and chill—no oven required and still tasty.
Common Mistakes
– Not pressing the mixture firmly enough: I did this once and the bars flaked apart; fix it by re-pressing and chilling longer, or lightly warm in a 300°F oven for 5–10 minutes to help ingredients meld.
– Using too much liquid: adds sogginess—add oats or a few extra chopped nuts to absorb moisture, then press and chill again.
– Over-toasting the oats or nuts: burned flavors ruin the batch. Toast briefly and watch closely; a golden edge is what you want.
– Skipping chill time: Don’t. Cold bars hold together and slice cleanly—warm bars will crumble.
What to Serve It With
These bars are terrific with a cup of coffee or tea for breakfast, crumbled over yogurt with fresh fruit, or wrapped in wax paper for a lunchbox treat. They pair well with a banana or an apple for added freshness.
Tips & Mistakes
When adding mix-ins like dried fruit or chocolate, fold them in after combining the wet and dry ingredients so they don’t sink to the bottom. If yours feel too hard straight from the fridge, let them sit at room temperature for 10–15 minutes before eating—they soften right up.
Storage Tips
Store in airtight containers in the fridge. It reheats beautifully, but if you sneak a bite cold straight from the container, it still works.

Variations and Substitutions
– For nut-free bars: substitute sunflower seed butter and pumpkin seeds for a safe, hearty alternative.
– To cut sugar: reduce the sweetener by a quarter and add a splash of vanilla and a pinch more salt to enhance perceived sweetness.
– Make them chocolate-forward by folding in dark chocolate chunks after cooling slightly; for a fruitier bar, use tart dried cherries or unsulphured apricots.
– If you want a lighter texture, swap half the oats for puffed rice—bars will be crispier and lighter.
Frequently Asked Questions
Easy Soft Granola Bar Recipes
Ingredients
Main Ingredients
- 2 cups Rolled oats Use gluten-free oats if needed
- 0.5 cups Honey Can substitute with maple syrup for a vegan option
- 0.5 cups Peanut butter Creamy or crunchy, your choice
- 0.25 cups Chocolate chips
Instructions
Preparation Steps
- Preheat your oven to 350°F (175°C) and line a baking dish with parchment paper.
- In a large bowl, mix rolled oats, peanut butter, honey, and chocolate chips until well combined.
- Transfer the mixture to the prepared baking dish and press it down evenly.
- Bake for 20 minutes or until the edges are golden.
- Allow to cool before cutting into bars.
Notes
Featured Comments
“New favorite here — family favorite. crunchy was spot on.”
“New favorite here — absolutely loved. grab-and-go was spot on.”
“New favorite here — so flavorful. quick bite was spot on.”
“Super easy and absolutely loved! My family asked for seconds. Saving this one.”
“This grab-and-go recipe was family favorite — the quick bite really stands out. Thanks!”
“Made this last night and it was absolutely loved. Loved how the quick bite came together.”
“Impressed! Clear steps and family favorite results. Perfect for busy nights.”
“New favorite here — absolutely loved. grab-and-go was spot on.”
“Made this last night and it was absolutely loved. Loved how the crunchy came together.”
“This crunchy recipe was turned out amazing — the grab-and-go really stands out. Thanks!”